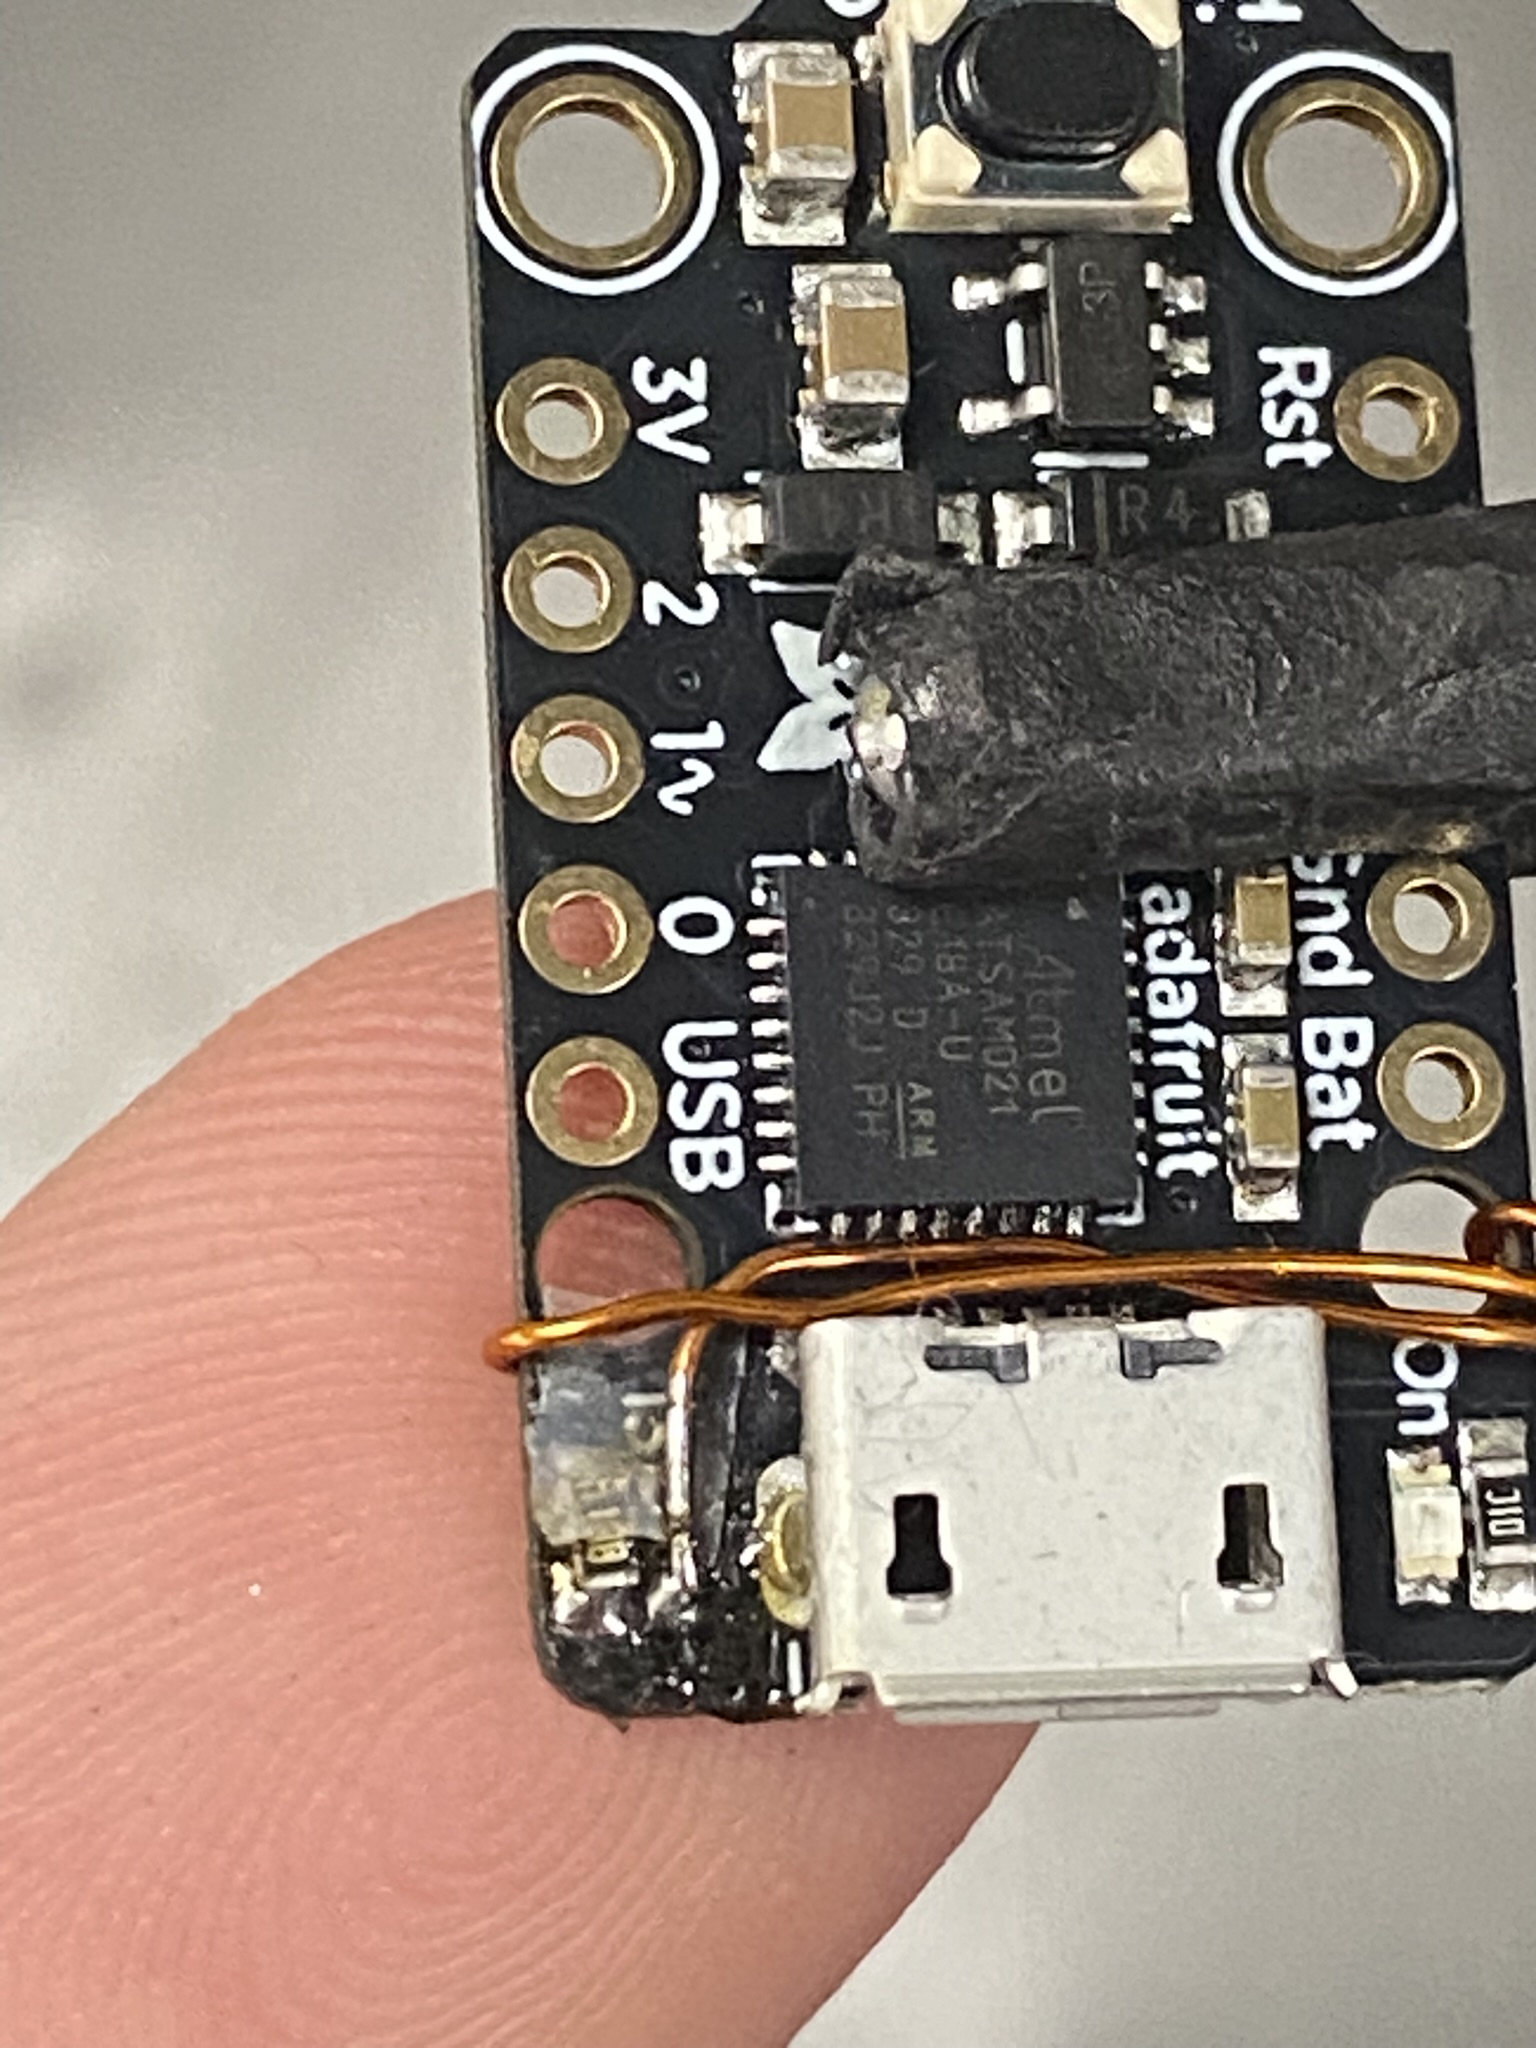
I've always had a thing for making stuff small. In this case, I was kind of limited by the size of the screen. I've been bothered, since creating it, just how much bigger my old pomodoro timer was than the screen, so this time I wanted to make it as streamlined as possible. The immediate problem was choosing a brain for the clock that wouldn't dwarf the screen. I decided to go with the Adafruit Trinket M0 because (I thought) it had the exact amount of GPIO needed to drive the display, would be able to supply the 5V power needed for the screen's VIN from the USB port, and was about the smallest thing I could find off the shelf that would do it.
After prototyping the clock before the Trinket arrived, I had a problem: I hadn't considered that I'd need some sort of input pin for a clock-setting input, so there would be one too few GPIO pins on the Trinket. I took another look at the schematic of the board and decided there was no reason that desoldering the pin #13 red LED wouldn't give me the GPIO access I needed, so when the board arrived I popped over to the soldering iron and gave it a shot. It was quite a tiny component, but it was right at the edge of the board which gave me pretty easy access.
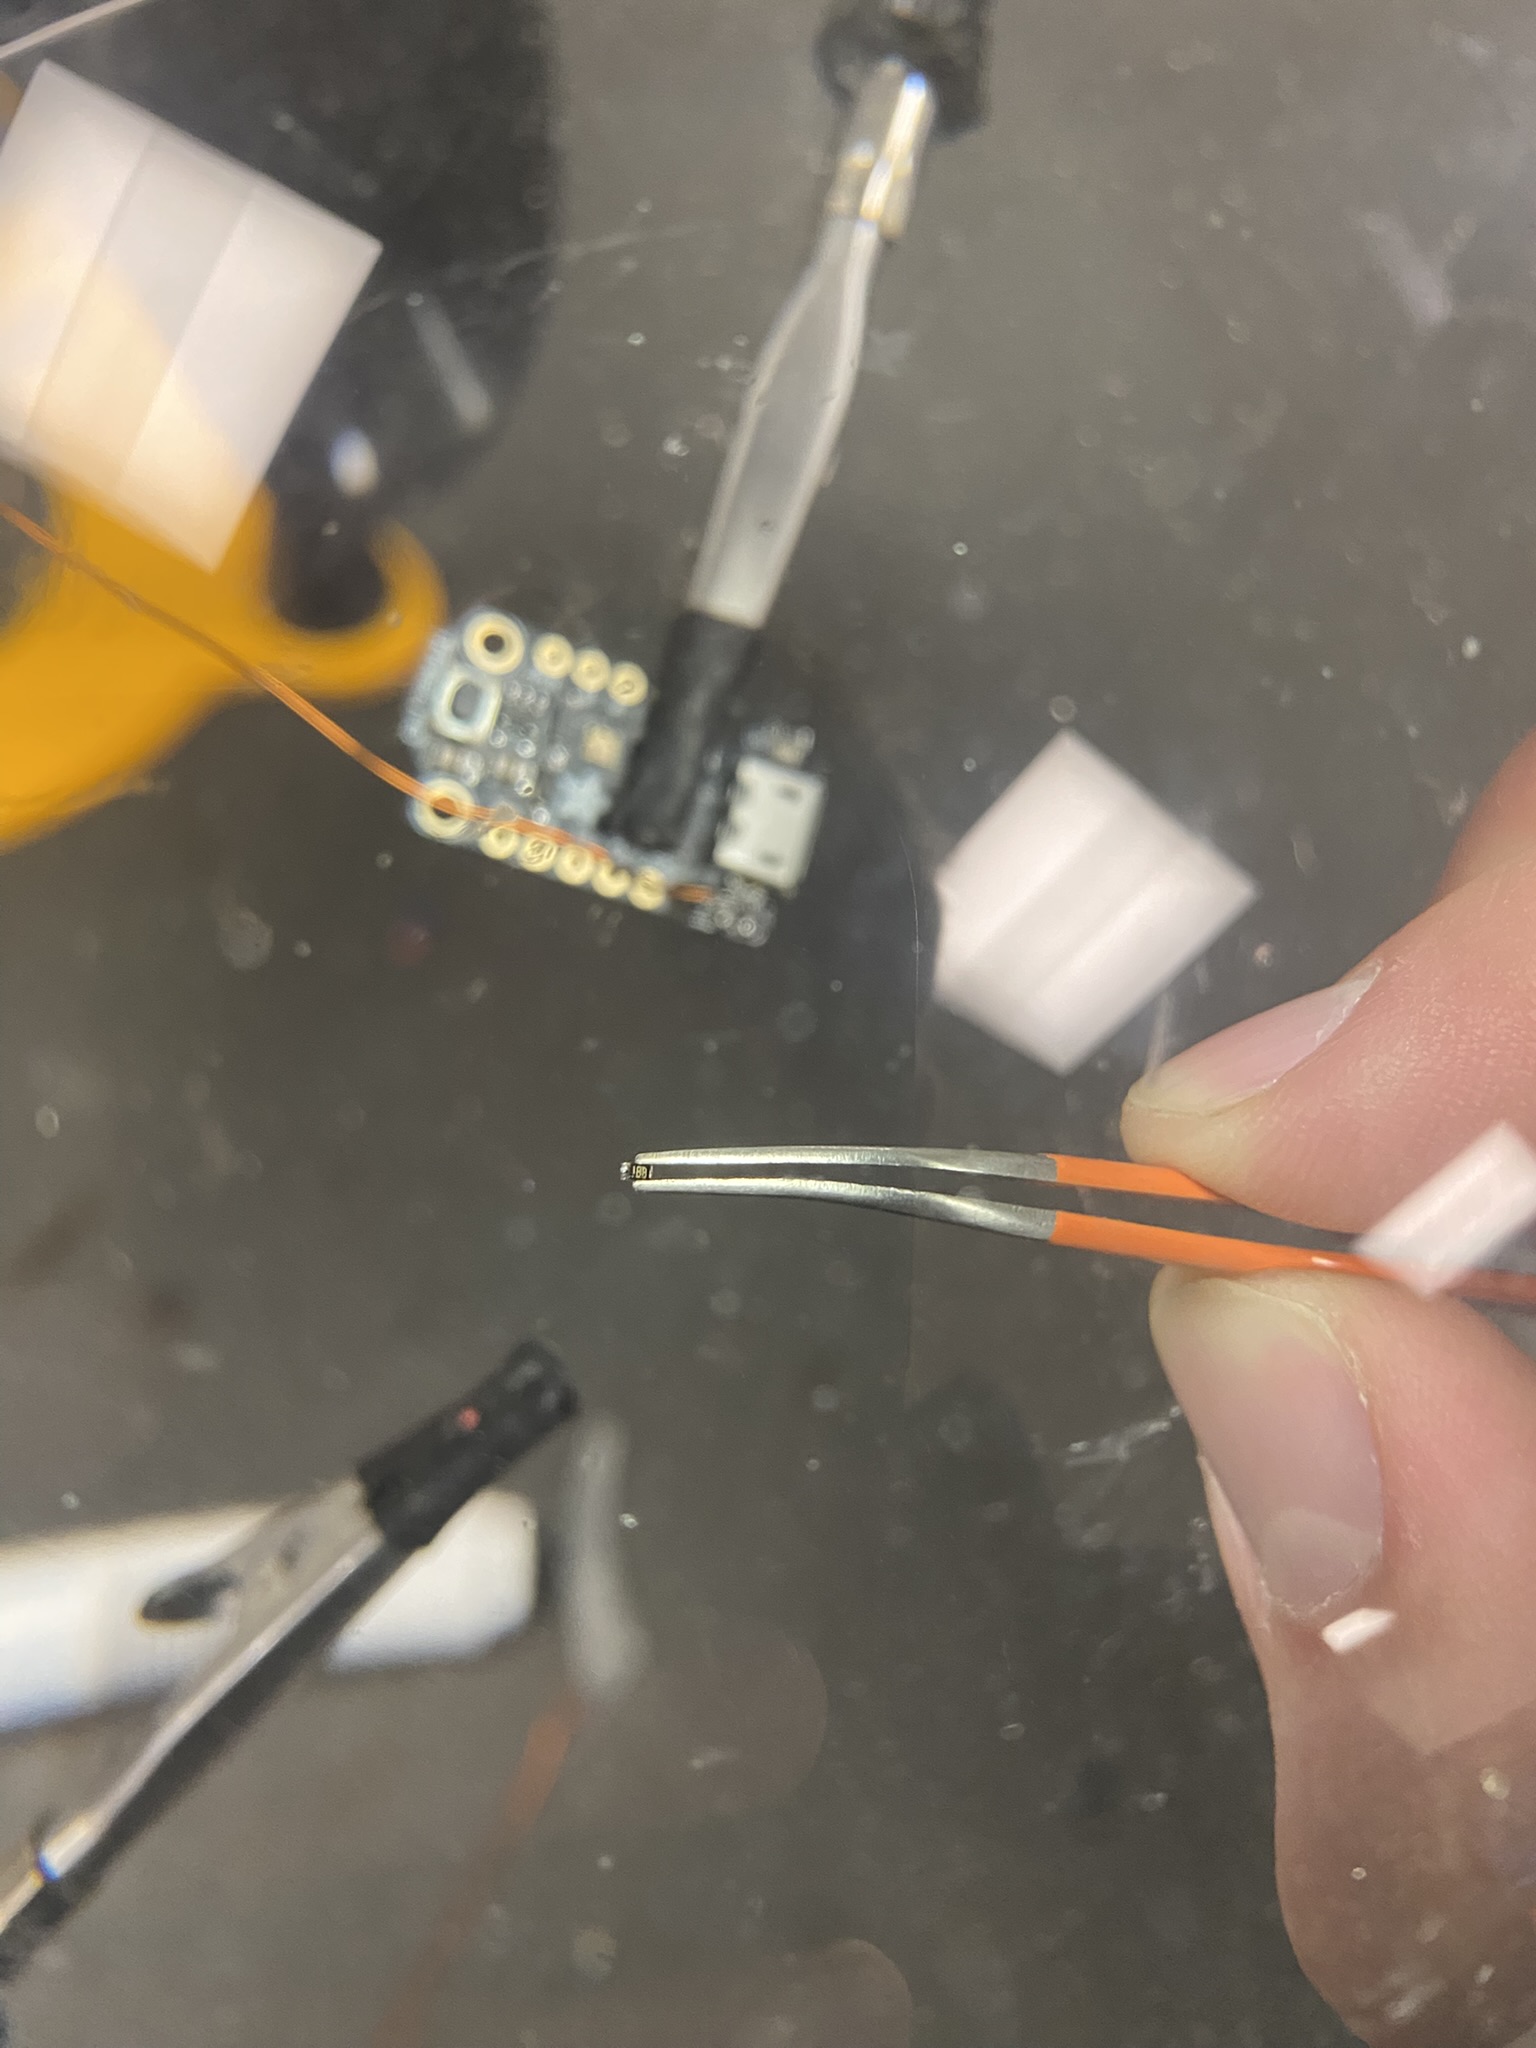
I used some thick-ish magnet wire to make that connection, and then decided that the rest of the wiring should be done with the same stuff since it was thin and didn't require shielding that would make the wires bulkier and take up more space in the tiny compartment I was planning. I sanded the enamel off the ends to make good connections.
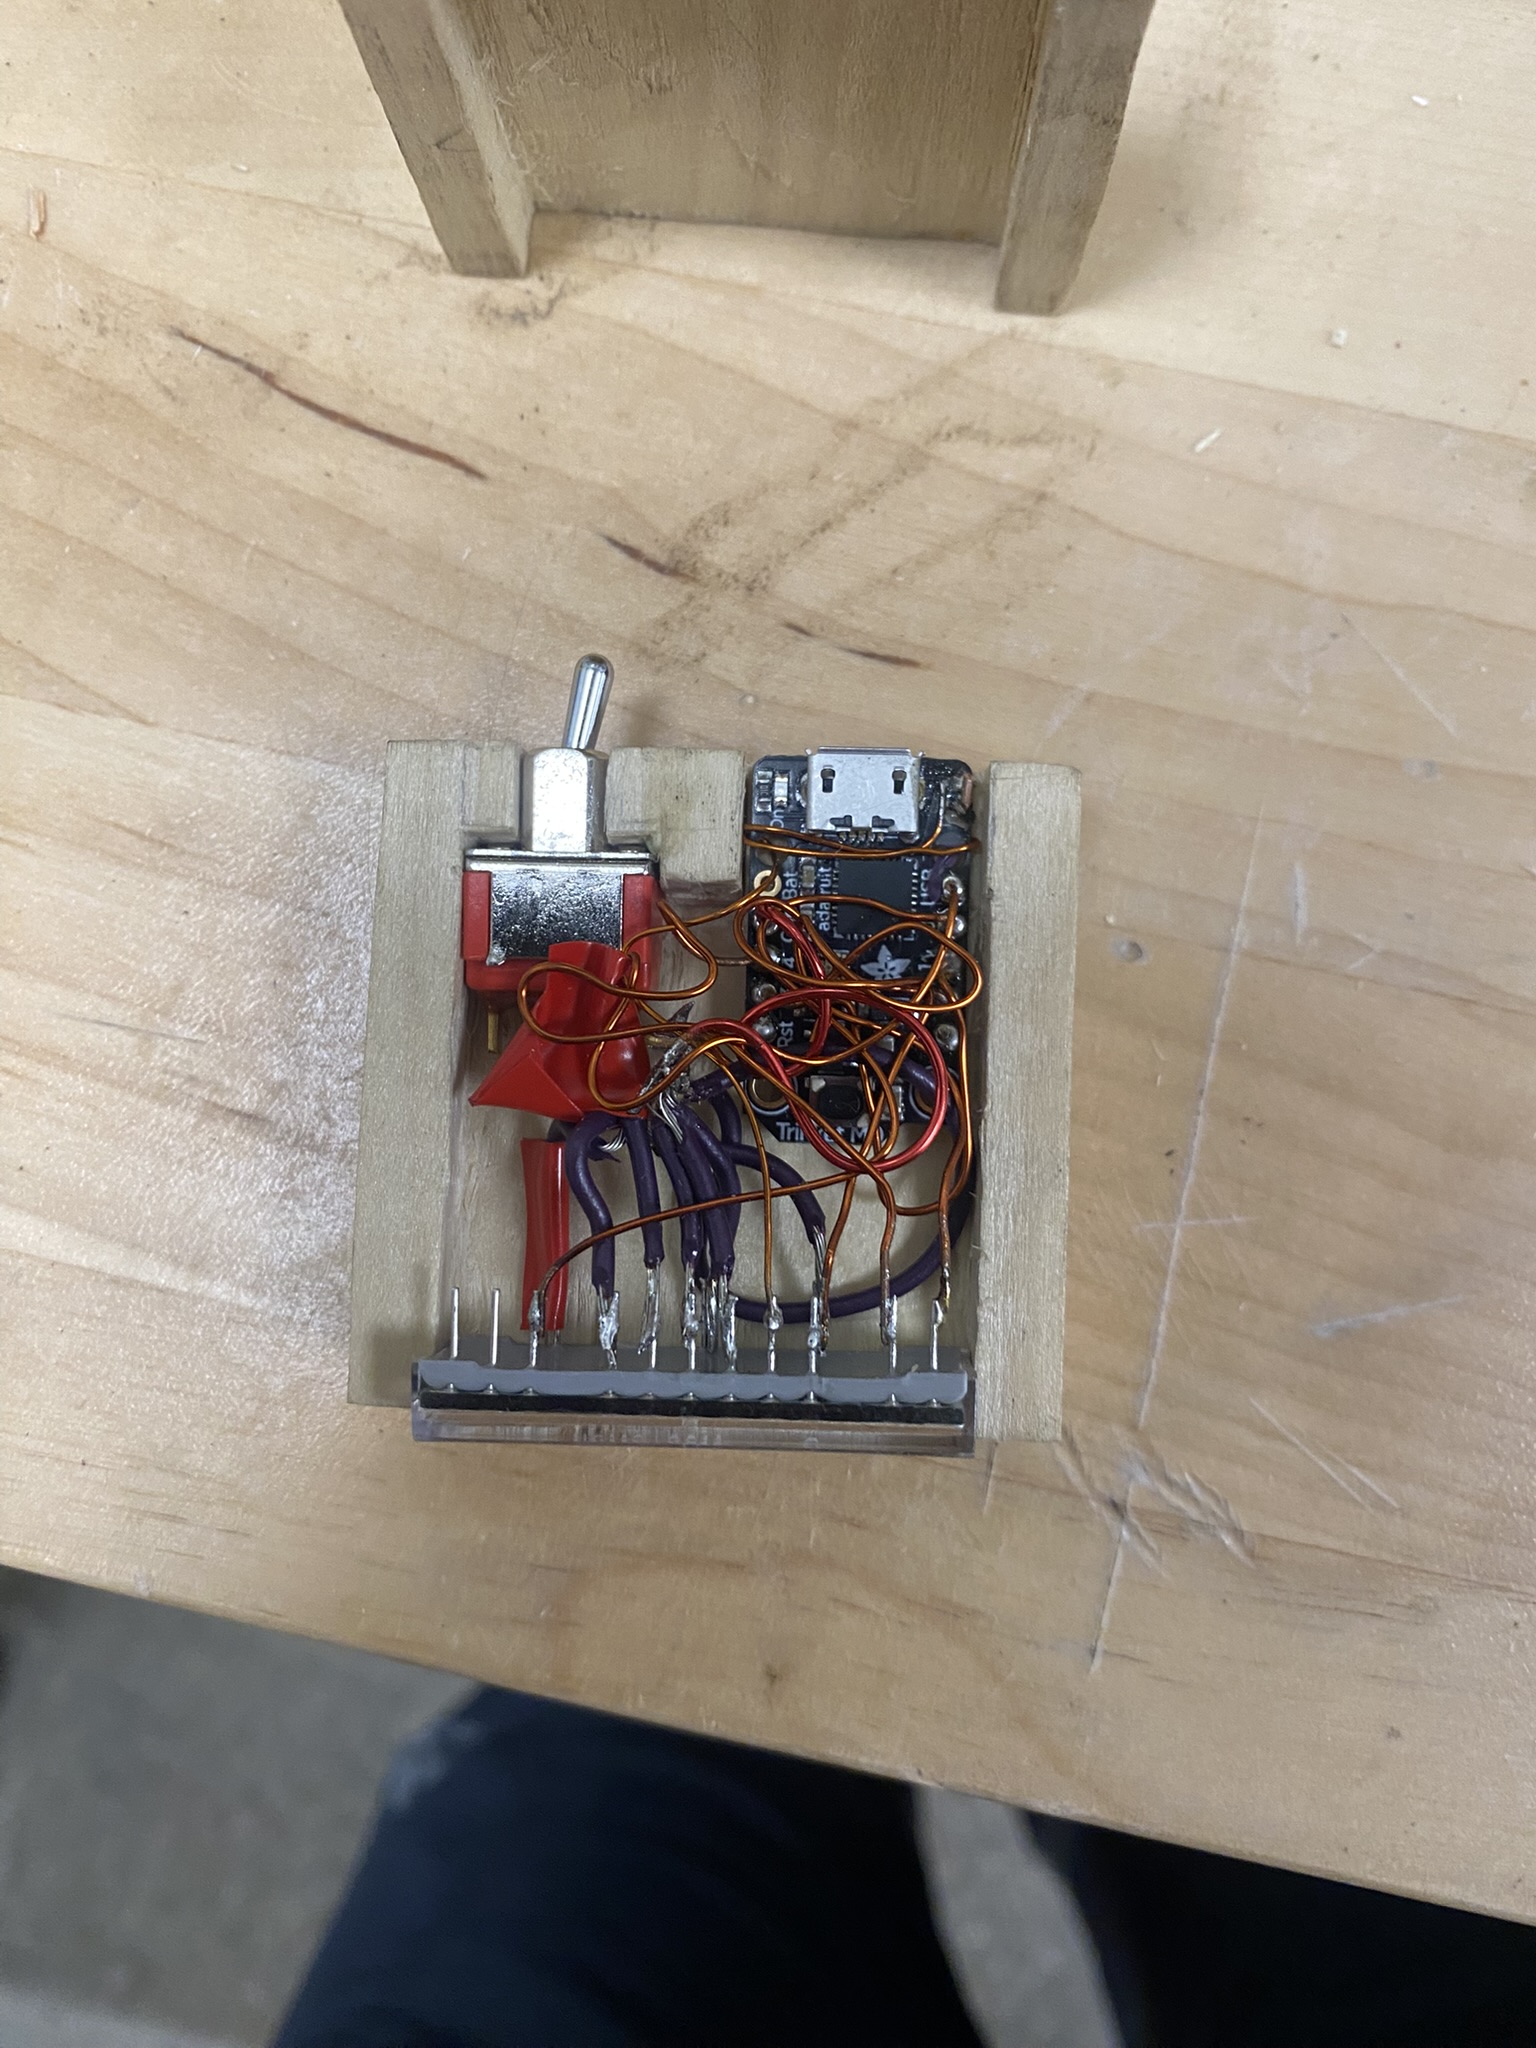
Speaking of the compartment, I decided to make it from wood instead of 3D printing it. It's absolutely nothing fancy and to be honest, I'd go back and redo it if I had the chance- with that being said, it's been like a year since I made it. The thing is basically a sarcophagus though, it's expoxied together and I don't think there's any way to pop it open and get the components out. Here's a photo of the container before I closed it:
And here's a photo of the camera displaying the time! The switch in the back had a ramping effect- when it was on, it did the first few seconds slowly, then got a little faster, and a little faster after that, like holding the time set button on any digital clock. I set my clock and went to bed satisfied.
When I got home the next day from all my classes, I immediately noticed the problem with my approach. In about a day, my clock ended up 30 minutes behind real time. I really don't know how I would go about making the clock more precise, but I kind of realized it would make a way better pomodoro clock than the old one, since it's so damn small and it doesn't really have any good way to stand up as a desktop clock in the first place. I ported my old pomodoro timer code to this clock and now I use it for that. It's portable too, since I usually carry around a power bank for my phone. Maybe next time I'd find a way to swap out the USB jack for a USB-C one for better interoperability with my phone and laptop chargers.
I'll add a photo of the full clock soon, there's somewhere on campus I can take a nice photo of it with a backdrop and I want to try!