Before I write about the process, I should mention what I used. The wood itself is what I strongly suspect to be maple that was in a firewood pile in my garage. There isn't a lot besides oak, maple and birch around me and the pores are pretty small and it responded differently to the finish than I would have expected from oak, so by process of elimination it's probably maple. It was finished with boiled linseed oil, which I love the look of.
The actual mouse is a razer cobra mouse which I gutted for its PCB (and RGB diffuser).
I prototyped a few things before I actually committed to making the thing. First, I made two iterations of a two-part wood housing made out of a block of pine. I did both of these tests using power tools. The inside was hollowed out with a router and the outside was grinded away with a dremel and a palm sander. These tests let me confirm that the idea worked (e.g. that I could replicate the tolerances in the bottom of the mouse enough so that the sensor worked as expected), but I wasn't happy with the process. What I really didn't like was the two-part housing. What I mean by this is that there's a dish that contains the mouse PCB and secures it in place, and a second wood part that is glued on top of the dish that has the buttons and such.
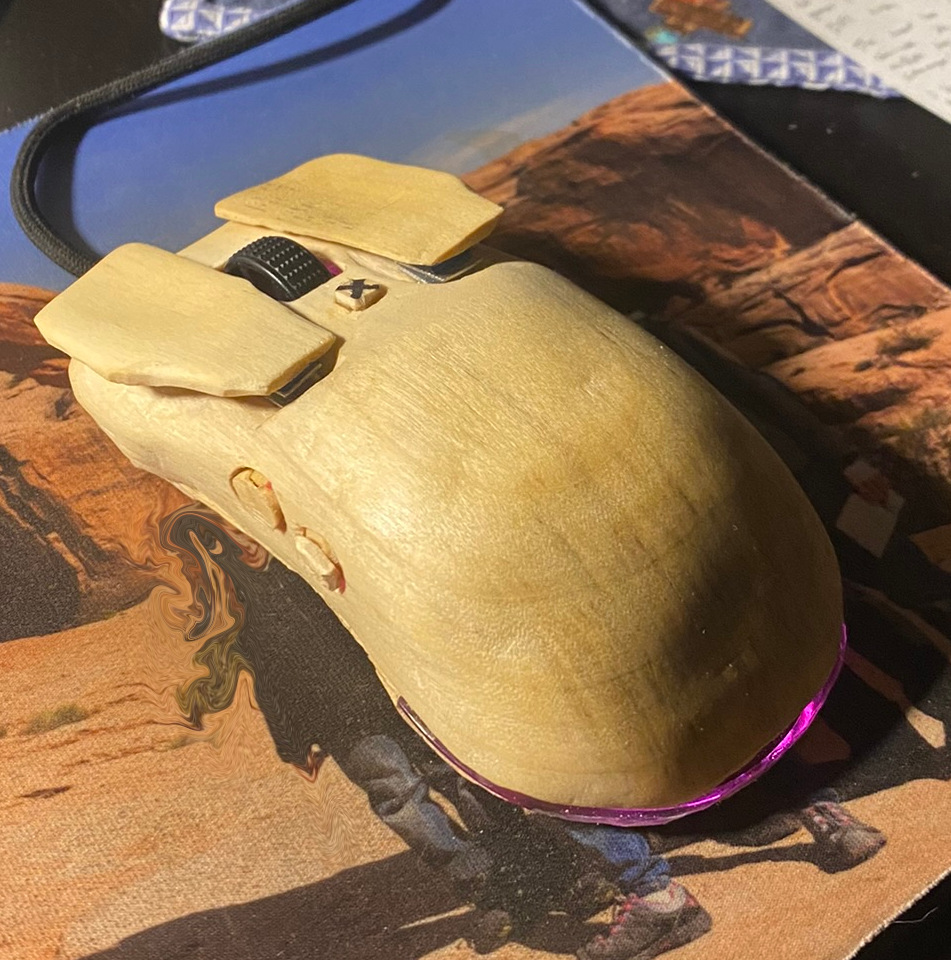
This process was irritating because I really didn't want a seam across the middle of the mouse, and I wasn't sure how well i could eliminate one with the wood I was actually going to use. I decided to make a one-part housing which is just the full form of the mouse with the bottom hollowed out and a base plate glued to the bottom that just has the sensor window and teflon feet (I guess it's still a two-part, just with much less of one half).
Following a disastrous failure during one of the prototypes involving the router and the rapid kinetic disassembly of the entire thing, I decided that the router would never see the final. I ended up also deciding, due to the amount of time it took to shape things with a dremel and palm sander, that I would carve it with a pocketknife. I have whittling experience and looked forward to the chance to work on something cool with it again. It definitely ended up being the right choice, and it was pretty easy to get something ergonomic and similar to the original mouse shape with.
Hollowing out the inside was pretty annoying. I used a combination of forstner bits and a dremel to clear out what I needed to. From there I carved some buttons and made little stands out of scrap aluminum from a DVD player, which weren't really necessary but, in my opinion, added a satisfying amount of resistance to the button (which in retrospect might not be ideal).update there was too much resistance, so I cut up a piece of springsteel that was very thin. It's now much easier to press the buttons, at the cost of the buttons being a bit more fragile.
The last thing that I want to write about is the side buttons. This razer mouse (and I suspect most mice) mount the side button switches in the same orientation as the forward buttons. In the injection molded mice, the horizontal press is translated vertically through a little hinge held in the top of the mouse cover. I didn't have the finesse to pull something like that off, as my ingenious solution to securing the PCB in place was a generous application of JB weld. I do have access to a 3d printer, so I designed a little thing to be glued in place between the buttons that translates the motion the right way. Unfortunately one of the buttons is a little gummy but it became that way after the whole thing got sealed, so it was too late to fix. I also printed a brace for the mouse scroll wheel which mounted to the bottom of the board and provided the saddle for the scroll wheel to keep it from snapping off. I really don't like that this is how mice work, to be honest. It's made me nervous to use the scroll wheel knowing how fragile the thing is. Here's a picture of my modifications to the board, and the board installed in the mouse body:

